Character Expressions
What is it?
Expression images are images (aka 'sprites') of your AI character which are shown next to (or behind) the chat window.
Expression images can automatically change based on a classification, adjusting to the sentiment expressed in the AI's most recent chat response.
Adding Character Expression Images
-
Open the Extensions Panel and expand the 'Character Expressions' section. If you have the character chat open, you will see a grid of image placeholders.
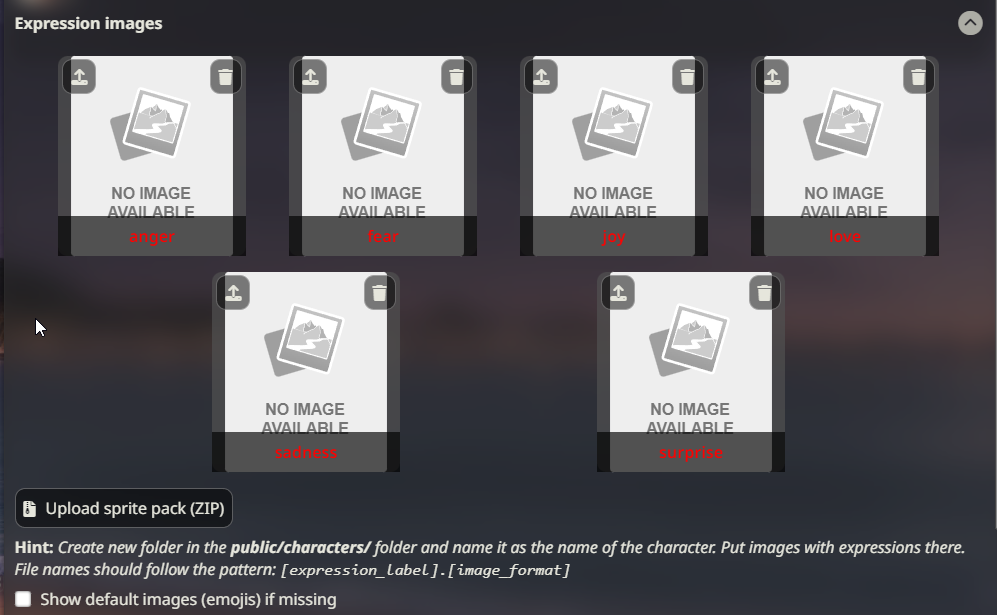
Expression Drawer -
Click the 'Upload image' button at the top left of each image in the grid, and select the image you want to apply to that emotion. This will save the image with the correct filename inside the
/data/<user-handle>/characters/(character_name_here)/folder. -
Repeat this for all expressions you want to assign an image to.
Importing an Expression images ZIP file
Using the ' Upload sprite pack (ZIP)' button, you can import a zip file that contains a collection of expression images, and those images will automatically be added to the correct folder for your currently selected character. The ZIP file must contain all images in a flat structure (no subfolders) and correctly named files. Importing a zip will not automatically rename any images to make them match the emotions.
Change Expressions Manually
- Click on any of the uploaded expression images (sprites) to display them near the chat interface (with default UI mode) or at the center of the screen (in Visual Novel mode).
- Use the
/expression-set (name)slash command or matching Quick Reply to set the sprite without opening the extensions menu.
Change Expressions Automatically
To automatically set expressions when the character replies, you have multiple options. Expressions change per message or at regular intervals when message streaming is enabled.
How does the classify module work?
The classify module uses a small 'sentiment parsing' model that runs alongside the SillyTavern server. This model takes the new output from the AI and detects what kind of sentiment, or emotion, the text is expressing. While multiple sentiments may be expressed in a single message, the model only picks the most likely one and returns that to the SillyTavern. The frontend extension then displays the image that is associated with that sentiment.
Setup Instructions (Local)
- Open the extensions panel and expand the "Character Expressions" extension menu.
- Select "Local" in the classification source dropdown.
- This will start a one-time download of the classification model from HuggingFace Hub (about ~100 Mb).
- Generate any message to verify that the classification works and the sprite appears. You may also check the server console for debug logs.
Local classification defaults to 28 possible image labels: Cohee/distilbert-base-uncased-go-emotions-onnx
To use the 6-option classification model, change the value of extensions.models.classification variable in the config.yaml file to: Cohee/bert-base-uncased-emotion-onnx
Setup Instructions (with LLM)
- Connect to any of the supported and properly configured APIs via API Connections.
- Import the expression images the same way as mentioned above.
- Select "Main API" in the classification source dropdown.
- Optionally, configure the classification instruction prompt.
- Generate any message to verify that the classification works and the sprite appears. You may also check the server console for debug logs.
Prompt Building Strategies
Main LLM source allows to choose how the classification prompt will be built:
- Limited Context: Only the last message and a system instruction prompt are sent.
- Full Context: The entire chat history, including the character card are sent.
Setup Instructions (WebLLM)
- Install the official WebLLM extension.
- Import the expression images the same way as mentioned above.
- Select "WebLLM" in the classification source dropdown.
- Optionally, configure the classification instruction prompt.
- Generate any message to verify that the classification works and the sprite appears. You may also check the server console for debug logs.
Setup Instructions (with Extras)
Warning
Extras is deprecated and may be removed in future updates.
- Have Extras installed and running with the
classifymodule enabled:python server.py --enable-modules=classify - Import the expression images the same way as mentioned above.
- Select "Extras" in the classification source dropdown.
- The appropriate expression image will display automatically whenever the AI sends you a response.
Extras API uses a classification model with 6 options by default: nateraw/bert-base-uncased-emotion
There is also a model with 28 options: joeddav/distilbert-base-uncased-go-emotions-student
To use this model you need to change your Extras command line to include the following argument (with a space before and after): --classification-model=joeddav/distilbert-base-uncased-go-emotions-student
Custom Expressions
How to get more expression options than provided by default? You can set up Custom Expressions in the extension settings. You can assign any name to Custom Expressions. They will appear in the expression image list and can be assigned images like other expressions. They will have an indicator showing that those are custom.
Tip
Both Local and Extras only support a limited list of expressions.
If you want Custom Expressions to be displayed, you either need to train a classification model with supported labels (outside the scope of this guide), or you can use LLM or WebLLM as classification source, which both will automatically use all existing expressions - both the default and any custom ones.
What image formats are supported for Expressions?
Any image format is allowed, including webp and animated gifs.
The most common format is a PNG file with a transparent background.
Using Default Expressions
If you don't have expression images for all expressions of a character, or no images at all, there are multiple options on what to display by default.
All of those can be selected via the dropdown under 'Default / Fallback Expression'.
- Choose a Fallback Expression: If an expression gets chosen where you don't have an image for, the fallback expression gets shown instead. Simply select one of the available expressions from the dropdown.
- [No Fallback]: When no image exists, show nothing.
- [Default emojis]: You can use the built-in default expressions which are included within SillyTavern. These are simple emoji-style images.
Using Multiple Images per Expression
It is possible to add multiple images per expression to allow for more variety in displayed expressions.
To enable this, simply toggle Allow multiple sprites per expression.
You can now upload more than one image, and any additional images will be displayed with a small marker.
Individual images can be manually chosen by selecting them with a click, or via /expression-set type=sprite, which will list available sprite images, instead of expressions.
Whenever an expression with multiple images gets automatically chosen, one of the existing images will be selected at random.
If you want to force a new image of that expression to be chosen when the same expression gets used multiple times, you can enable Re-roll if same sprite is used again.
Naming Convention for Multiple Images per Expression
In case of multiple images per expression, files need to be named a specific way.
The files need to start with the name of the expression, and then followed by a suffix, either separated by a dot or a dash. Examples: joy.png, joy-1.png, joy.expressive.png
File names must follow this format for both direct uploads and ZIP imports.
Sprite Folder Override
Note
Display names (not character card filenames) dictate which image set is used
If you have more than one character with the same display name, they will both use the same set of expression images.
If you want a different image set to be used for each version of the same-named character, you can use the sprites folder override.
Folder overrides can also be used to define different sprite sets (outfits, etc.) of the same character.
How to set an override
- Create a folder in the
/data/<user-handle>/characterswith any name and put images there, e.g./data/<user-handle>/characters/Boris. - Open the chat with the character whose sprites you'd like to override.
- Enter the name of the override folder into the "Sprite Folder Override" input and click "Submit".
- The Sprites list will reload and the "Sprite set" indicator should show the override folder.
- Alternatively, you can use the
/costumeslash command to achieve the same result:/costume Boris. - By prepending a backslash to the override folder name, it will resolve to a subfolder in the current character sprites folder, e.g.
/costume \tracksuitfor the character named Boris will resolve to the/data/<user-handle>/characters/Boris/tracksuitfolder.